I have a few 40k buildings that need paint, among them this smaller ruined building. It’s made out of pieces from the Imperial Sector terrain kit that Games Workshop used to sell. I’ve had it for something like 13 years but never got around to actually painting the buildings I built from the box. Partly because I had no idea how to paint them. Now that I actually have a 40k army of Adepta Sororitas, or Sisters of Battle, I feel like it’s time to get the terrain done as well!
When painting this I followed a video tutorial by Vince Venturella that you can find here on his YouTube channel. I didn’t have any of the same paints, oil wash or airbrush so I kind of winged it all the way through, following the steps but using different colours. It doesn’t really look like his result but I think it turned out nice anyway.
Paints used are:
- Chaos black primer – Citadel
- Wraithbone prime – Citadel
- Grimy grey – AK interactive
- Offwhite – Vallejo
- Flat brown – Vallejo
- Dark sea grey – Vallejo
- Pale grey blue – Vallejo
- Light green blue – Vallejo
- Reflective green – Vallejo
- Black templar contrast – Citadel
- Decayed metal – Scale75
- Jokaero orange – Citadel
- Light orange – Vallejo
- Dark earth + Violet pigments from Secret Weapon
Building base and priming
I started out with making a base for the house out of thick cardboard. I used and exacto knife to trim the edges so they wouldn’t look too thick on the table. Then I added some pieces of cork, sand and a few pieces of rubble. Im using the same basing material as I have used for my Sisters of Battle so that the houses and army matches up.
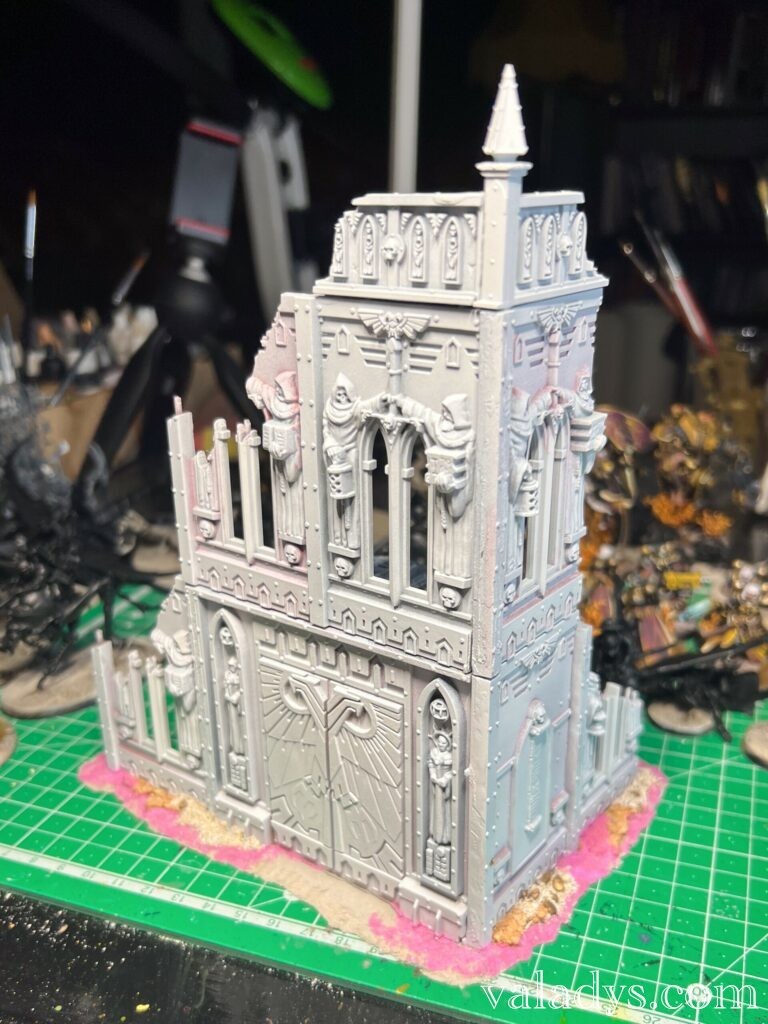
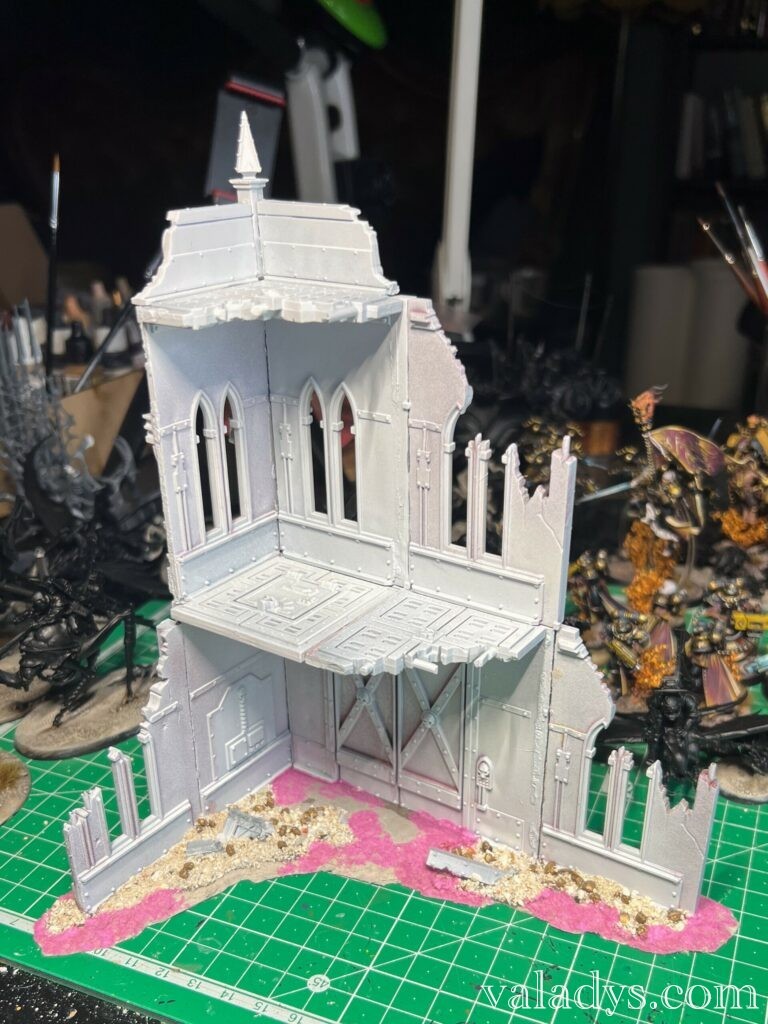
I primed the building after having added the base, first in Chaos black and then a layer of Wraithbone. I started with priming the whole thing black and then used the Wraithbone as a zenithal spray to create some natural shadows.
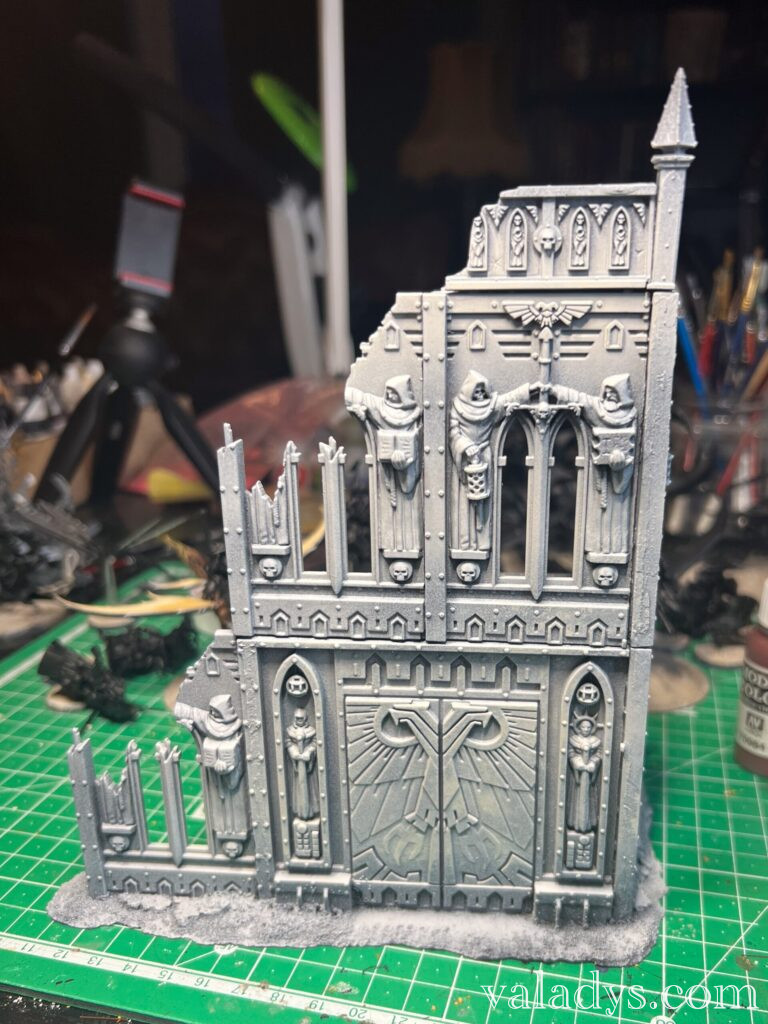
Basecoating the walls
First I stippled the building with a layer of Grimy grey. This will create some texture in the flat surfaces. For stippling I used a big make-up brush as recommended by Vince.
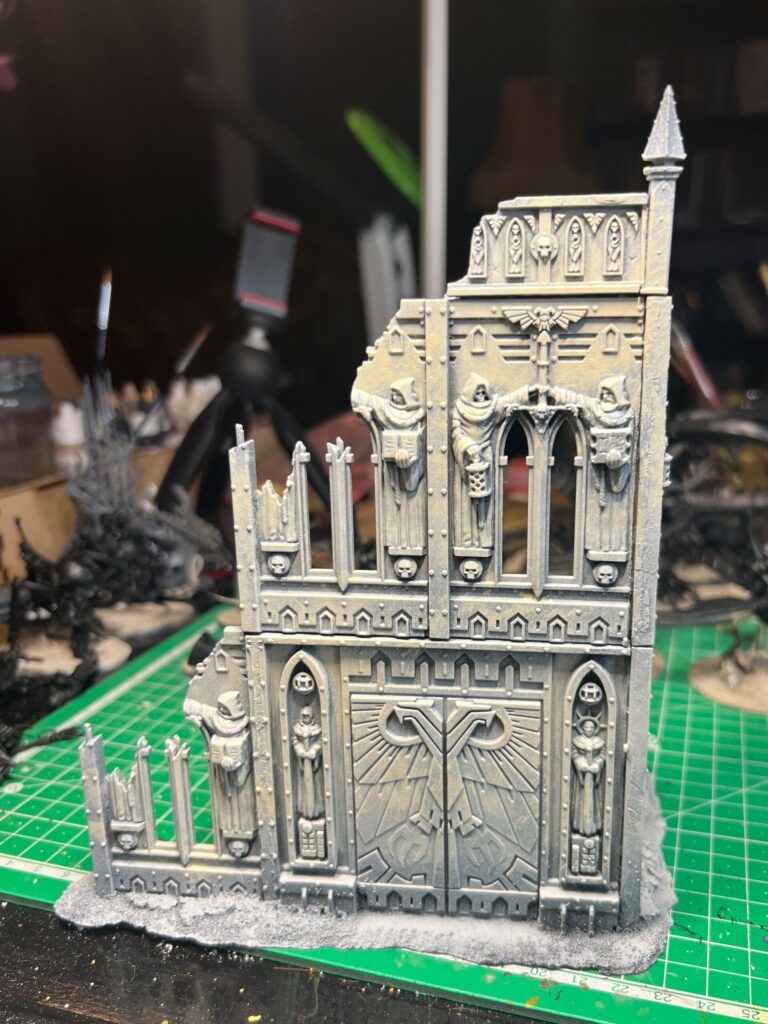
I then stippled it again using Offwhite for some color variation.

For the next part, Vince uses an airbrush to add some browns to the lower part of the building. Since I don’t have an airbrush I opted to do this with a regular brush and some watered down Flat brown. Looks very sloppy compared to airbrushing but it adds to the texture anyway.
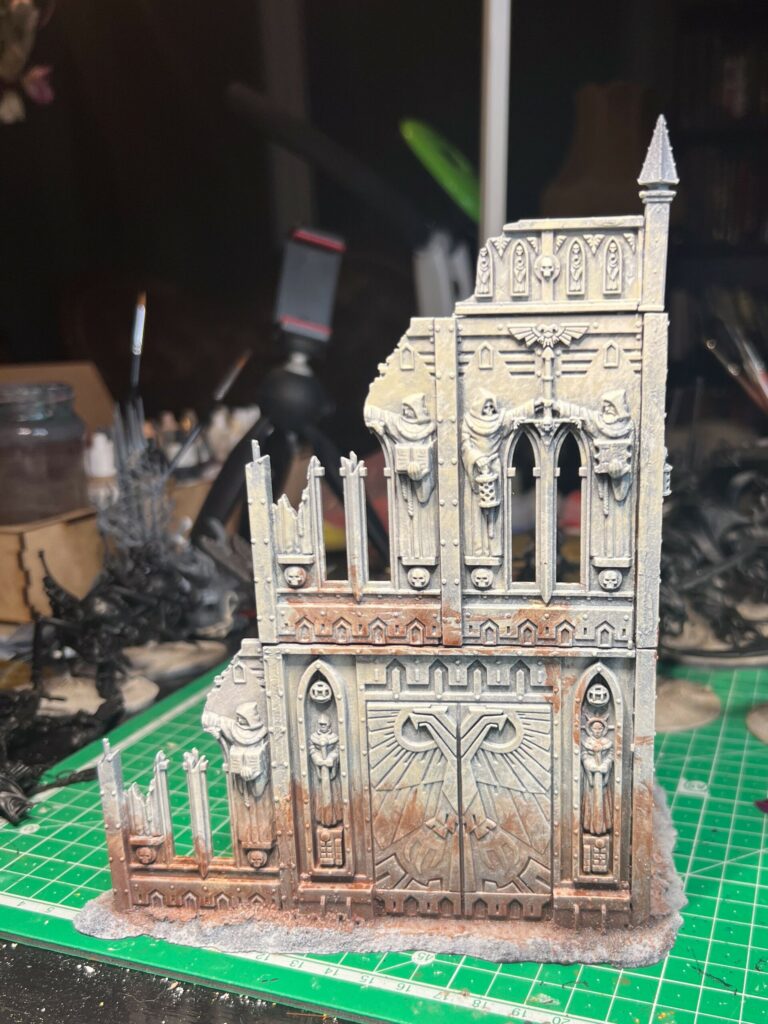
Here I washed the walls with a thinned out Dark sea grey, this was not done carefully. I tried to do it uneven on purpose so that it wouldn’t completely cover the previous steps and making the walls look too flat.
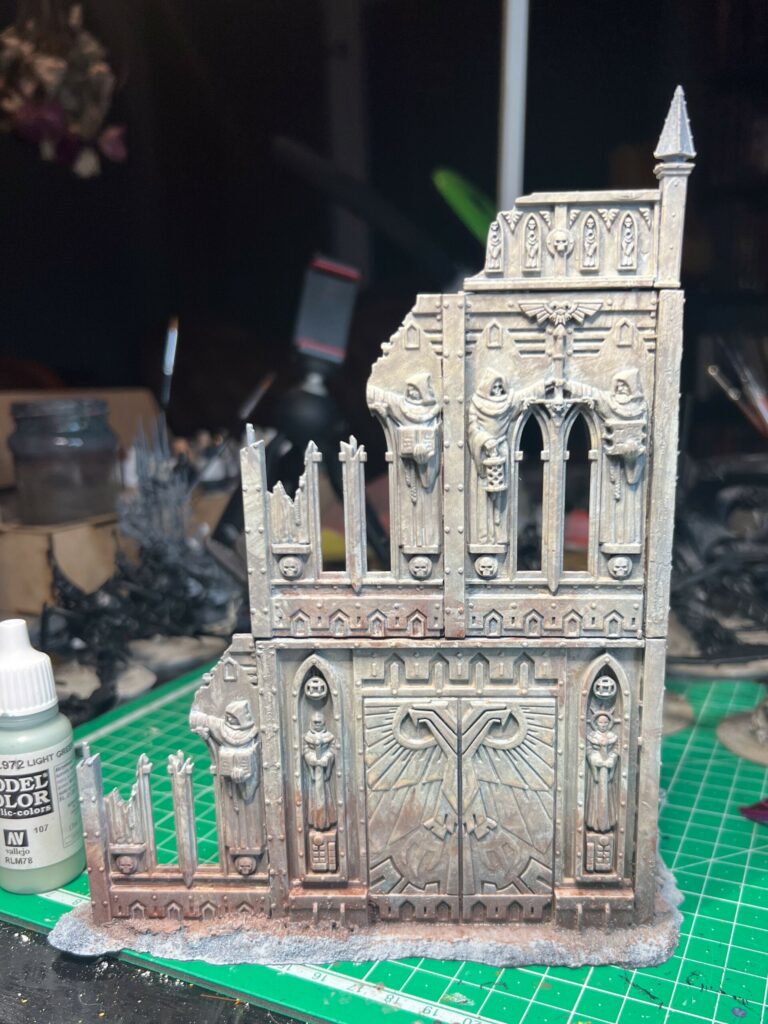
I repeated the previous step but with Pale grey blue which is a little lighter in colour.
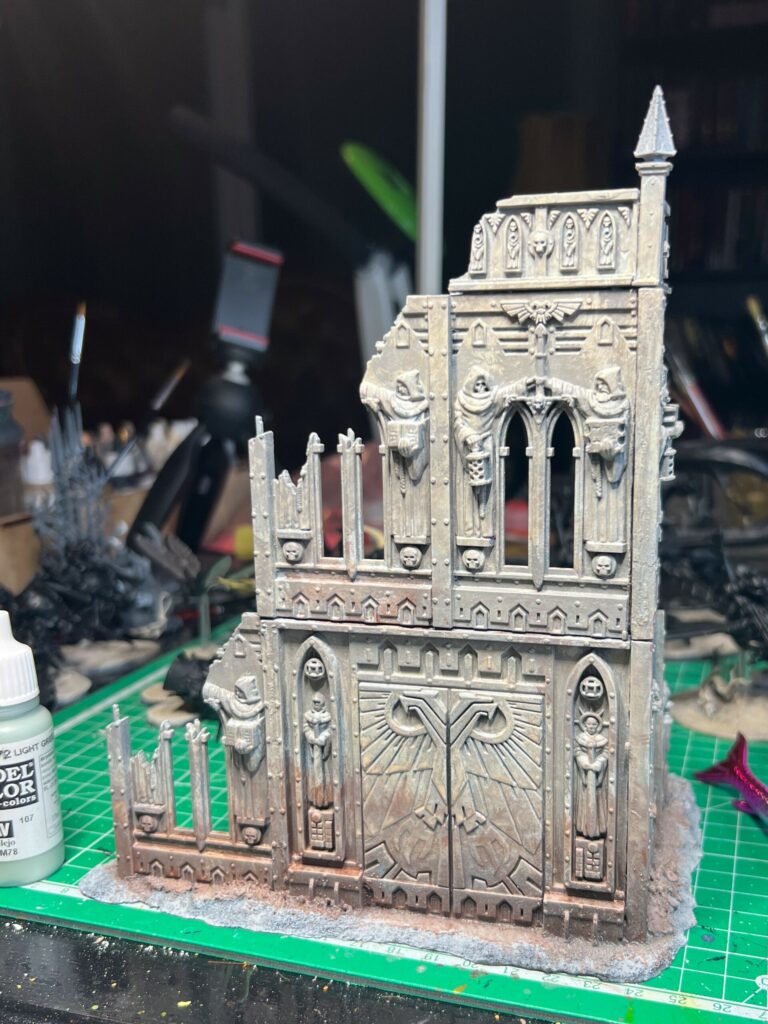
To add a bit more colour to the walls I used a thin wash of Light green blue mixed with Reflective green and went over the walls randomly. To both add to the variation and texture.
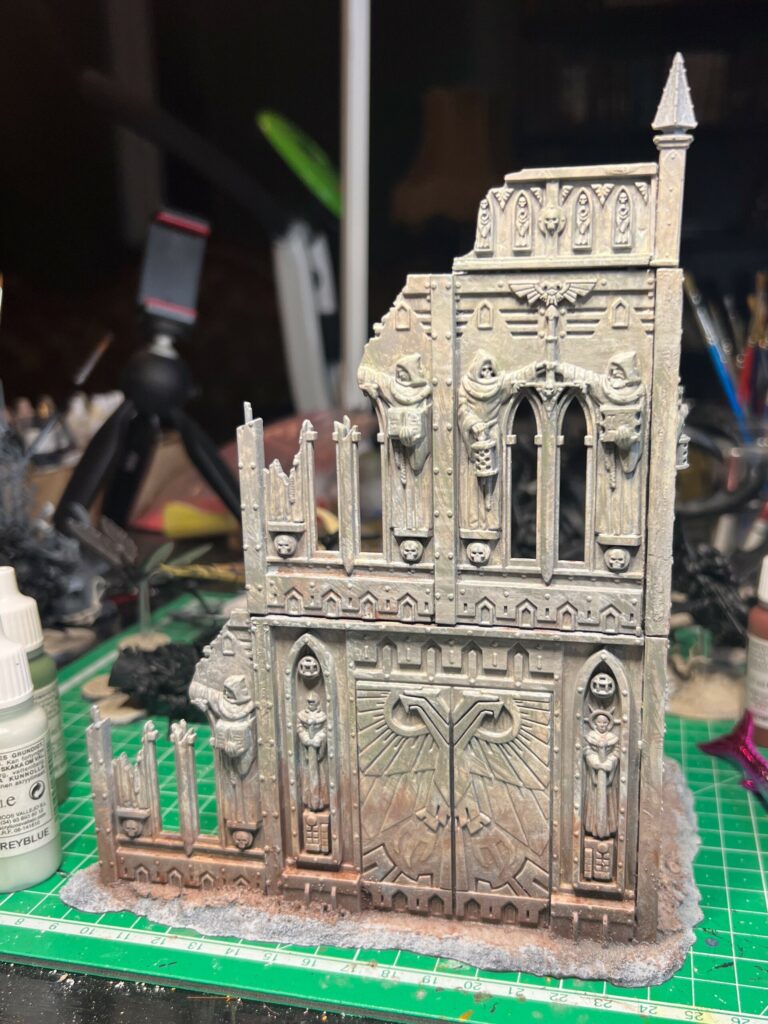
Washing the walls
Next, instead of an oil wash as was used in the video I took some Black Templar contrast paint, thinned it out with a bit of water, and slabbed it over the building. A bit thicker paint in the recesses where I wanted more black and a bit thinner over the lighter surfaces. It doesn’t run nearly as neatly and nice as an oil wash but it worked fine enough for what I wanted it to do.

Since I used contrast instead of oil wash it doesn’t wipe off as well so instead I used a brush and glazed a layer of Grimy grey wherever I wanted the walls to be a bit lighter.

Metals
The metal parts were painted using Decayed metal as I wanted it gold instead of steel. I had planned to paint the eagles on the doors in metallics but I liked how they turned out after all the layering so I left them the same colors as the walls.
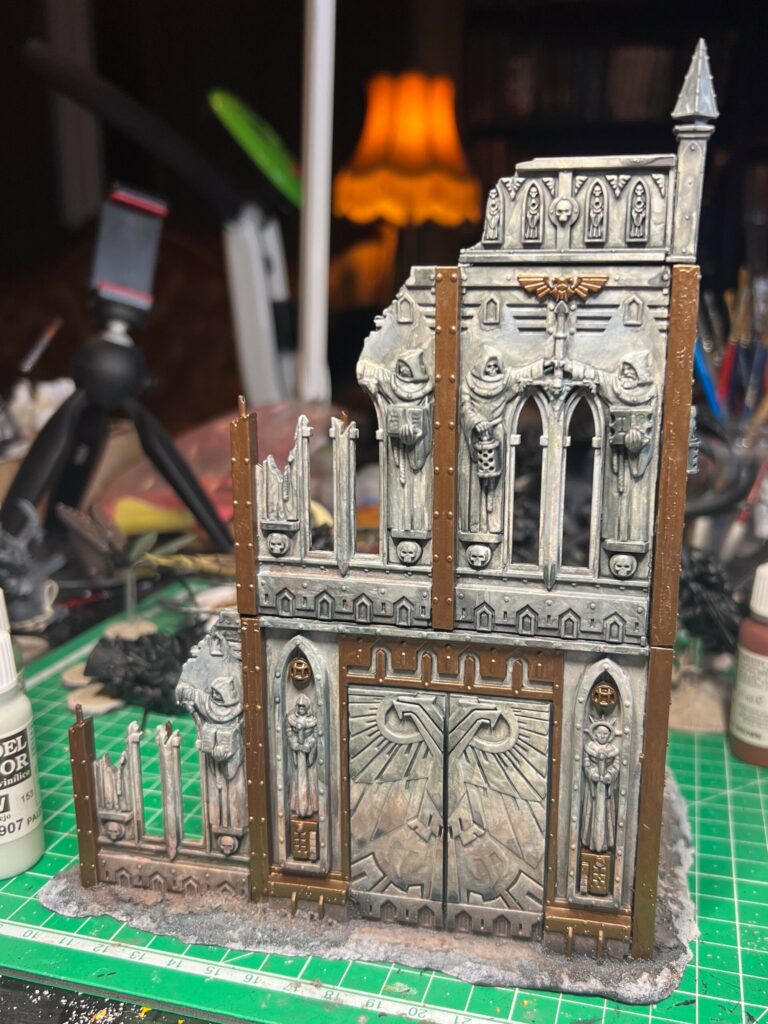
After painting the metals I forgot to take a photo of the next step, but I used some Contrast Black Templar over the metallic surfaces to give them some grime and a bit more contrast. I then used a smaller stippling brush to create patches of rust. I first used Flat brown and then Jokaero orange and for the very lightest parts I added some Light orange.
After the paint had dried I also added light dusting of pigments to the lower part of the walls. The pigments I used are Dark earth and Violet from Secret Weapon.
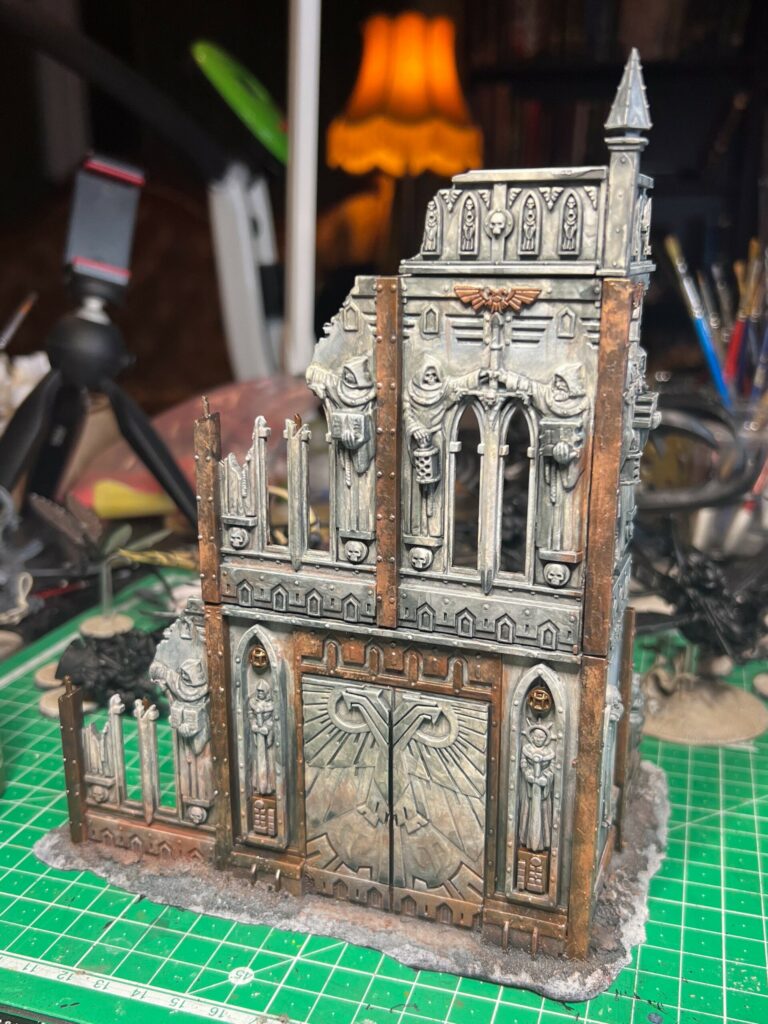
The finished building
That’s the building done! I painted the base in the same colors as the Sister of Battle army and added some tufts and bushes. I have a few more buildings to paint and I plan on doing the same bases for all of them.

The back of the building I painted the same way as the front.
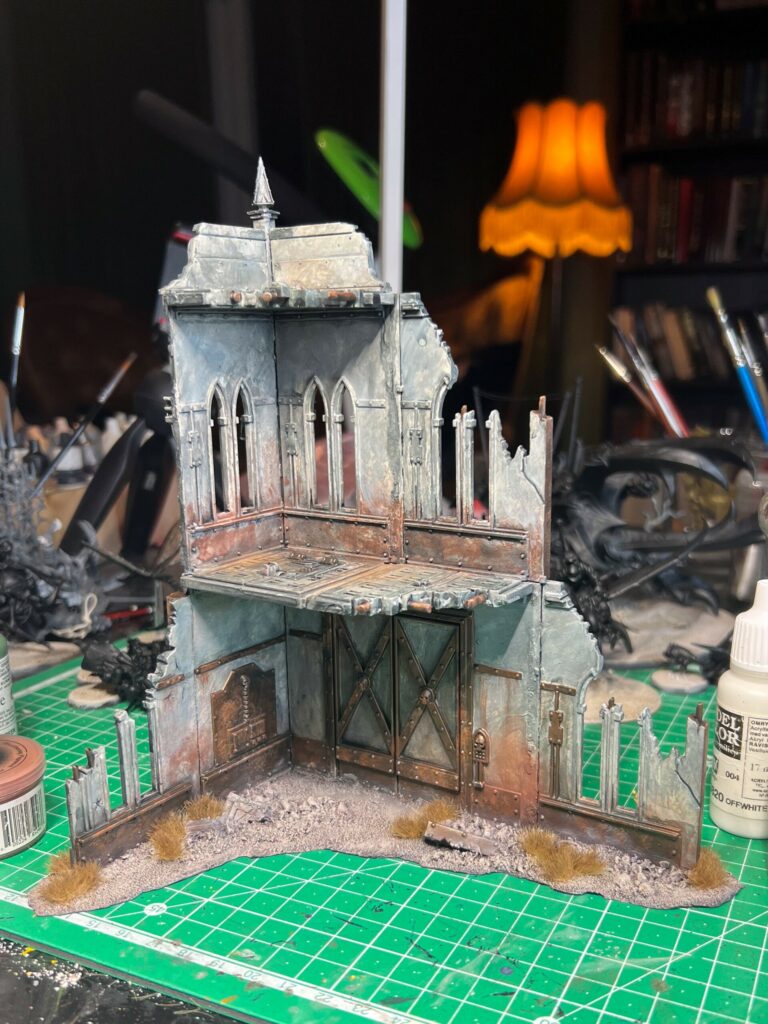
I will be painting up the rest of my Imperial Sector buildings and also the Adepta Sororitas Battle Sanctum in the near future. I will try to tweak the paint recipe to give them a bit of variation. More posts will follow as soon as they are painted.
